Sewing
I begin sewing at the instep of the foot. The reason for starting at the instep is that it seems less subject to wear, and so is the most protected area for the knot. The sole and upper (or sole and heel) are held suede sides together, and sewn. This leaves the seam on the outside of the moccasin, which is more comfortable than if it is on the inside.
Enough thread is cut to circle generously 3 times around the sole. You don’t want to run out of thread near the end. If you do, continue with another length of thread. Knot it to the old piece and keep sewing.
From the instep, sewing moves up around the toes, down the outside of the foot, around the heel, and back to the instep.
I sew one dart at a time. That is, holes are punched in the upper (or heel) to match up with holes in the sole. Holes are punched up to the next dart. The upper/heel and sole are sewn together. I pull the stitches tight with each hole sewn, so I don’t have to go back and tighten things up later. When the dart is reached, it is removed, and its hole sewn too. Then on to the next dart.
With some pairs of mocs, I was ambitious and punched holes all the way around before sewing. In this case, the thread through the sole to fit it around the foot could be removed after all the holes were punched. Although the sole lost its shape, sewing could proceed all the way around since holes matched up. However any mistakes … a dropped stitch here and there … would be hard to find. So with this pair of mocs, I kept the thread in the sole as long as possible to retain its shape. Then the moccasin could be tried on the foot repeatedly for a good fit.
![]()
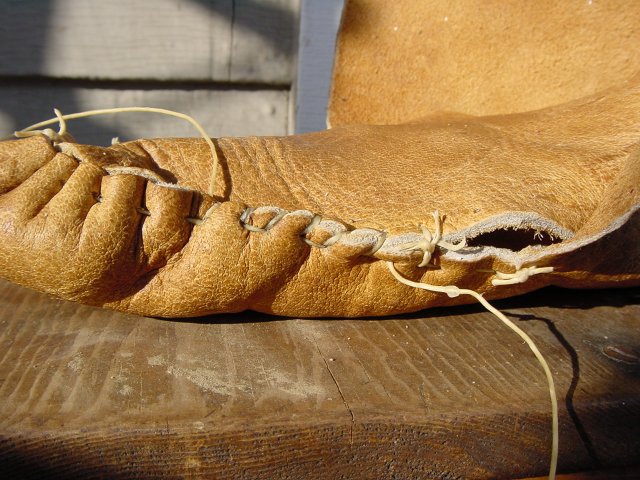
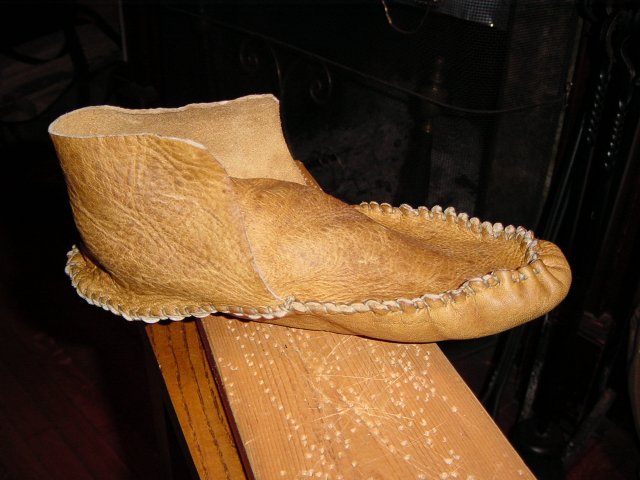
Starting to sew. This is the right moc, the rest of the pictures are of the left moc. I forgot to take the picture of starting to sew on the left moc …
![]()
On the sides of the foot, each hole in the sole can be sewn to a hole in the
upper or heel. The tricky part comes when sewing the toes and heel. Here
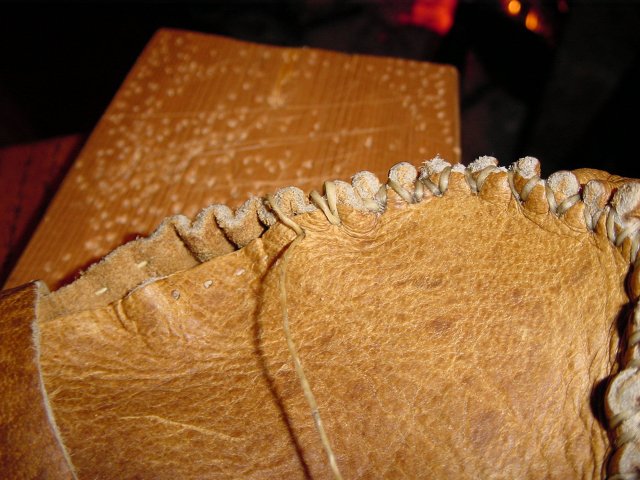
the sole is bunched-up relative to the upper. I sew two holes in the sole to
one in the upper. The bunch in the sole sticks out between the two
sutures. I hope they don’t leak!
![]()
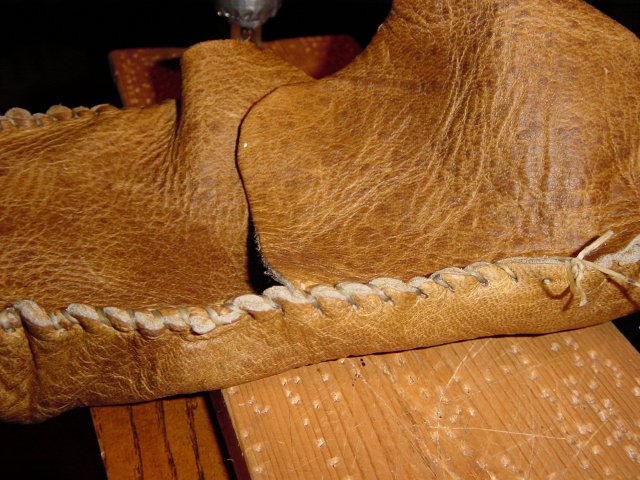
Where the heel, upper, and sole meet, the heel is on top and the sole is on the bottom. The upper is sandwiched between them.
At this point, I tried the moccasin on and it was a tight fit. I removed the thread that was originally put through the sole to fit it around the foot. Then the heel was moved farther back on the sole, for a looser fit.

![]()

![]()
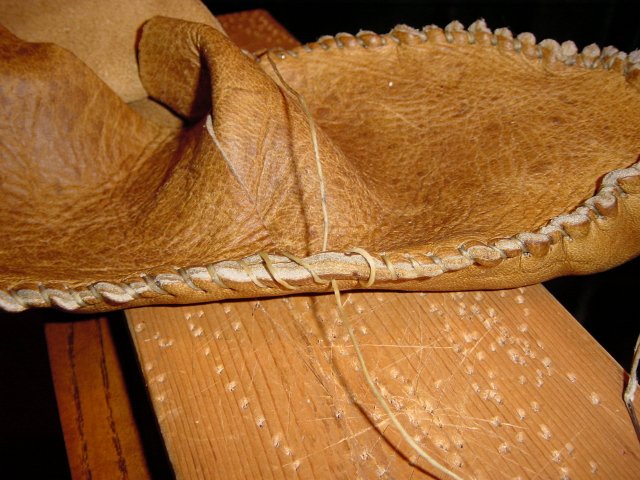
The sole is again bunched at the heel. Sole and heel are sewn one-to-one when winding around back to the instep.
![]()

![]()
![]()
We’ve reached the starting point. The two ends are pulled tight, and tied in a couple of square knots. The knot is tied so that it is on the upper part of the moccasin, so it doesn’t wear against the ground. Then each loose end is threaded back through a hole to the inside of the moc. From there, it is threaded along the inside of a seam for a few stitches, to keep it from unraveling.